

Learn to Play Hockey- What you need to know!
Little Scouts Learn to Play Hockey
Learn to skate and learn to play hockey are the first steps in a child’s involvement into youth hockey.
· The Little Scouts Learn to play Hockey will be one practice a week (45 minutes each), starting in January 2026 and will be approximately 10 on-ice sessions.
Here is what you need to know regarding Learn to play Hockey
Equipment Needed for Little Scouts Learn to Play Hockey!
· Skates
· Hockey Helmet
· Gloves
· Knee pads
· Elbow Pads
· Hockey Pants
· Hockey Stick
· Protective Cup
· Knee pad socks and Jerseys will be provided
FAQ
Where do I get equipment if my player is ready for Learn to Play hockey?
First, ask your friends that have hockey players. Kids go through equipment fast as they grow fast! Most families who have hockey players will also have old equipment just laying around. This is the best way to get started.
Second, there are three options in the area.
- Fred's Pro Shop in Vernon Hills
- Pure Hockey in Glenview
- Play it Again Sports in Northbrook
How to get your player ready!
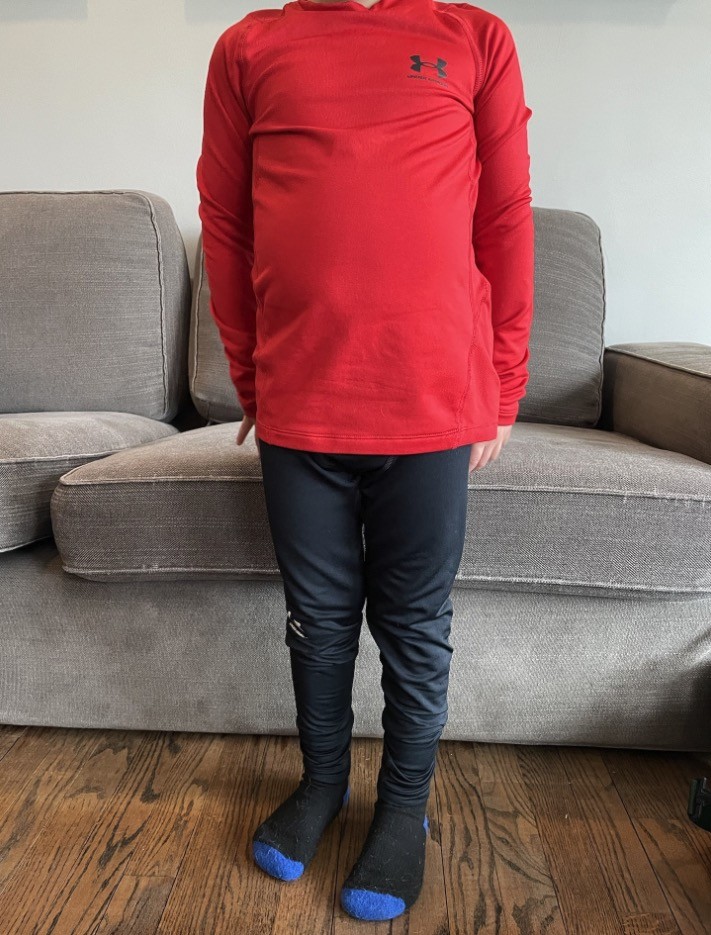
A. Base Layer
When getting your player ready it is important to have a base layer under the equipment, this prevents any rubbing of velcro straps on the skin especially around the legs due to the knee pads and also the elbow pads and shoulder pads.
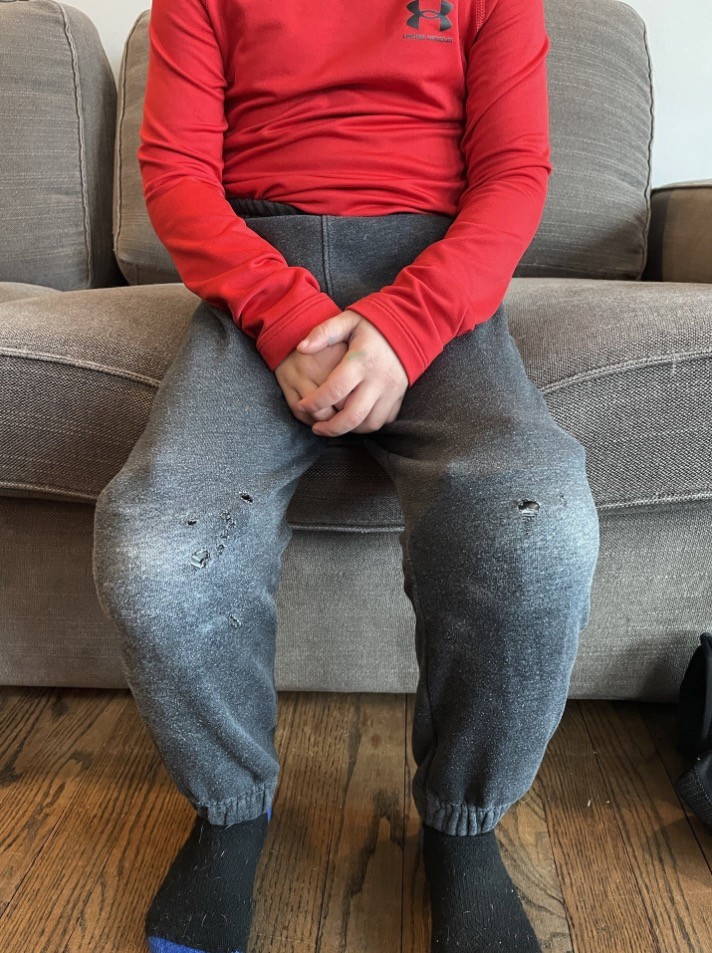
B. Shin pads and socks or sweatpants
When putting the shin guards on attach all the velcro around the legs and press together firmly. Next either hockey socks or Sweat pants over the shun guards. Sweat pants are the easiest way to get into the game and won't fall down during practices.
Most new players will not wear cups, but most cups now come as shorts with the cup built in, and velcro to attach the hockey socks. We do not require cups at Learn to Play hockey but they are required once players move into Mite hockey.
There are two options.
- Shin guards with larger sweatpants over the shin guards.
- Jock shorts or jock pants that hockey socks can attach to. The links for examples of these are below:
In the picture below the shin guards are under the sweatpants.
C. Hockey pants or Breezers
Next will be the hockey pants (Sometimes referred to as breezers). Pull the pants over the shin guards. Suspenders are also helpful and the link is below.
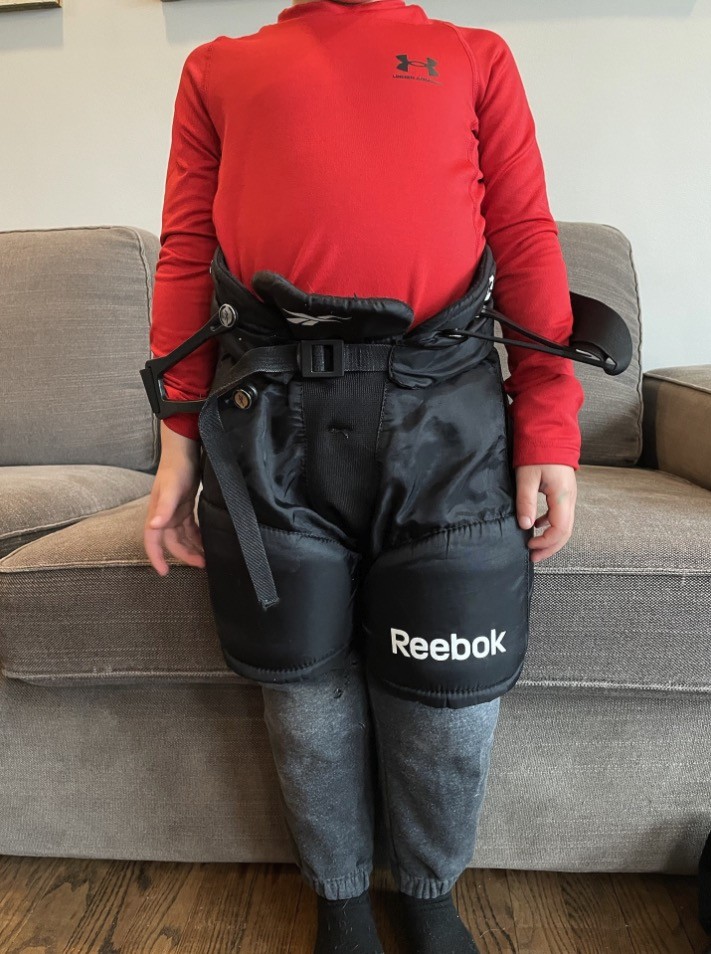
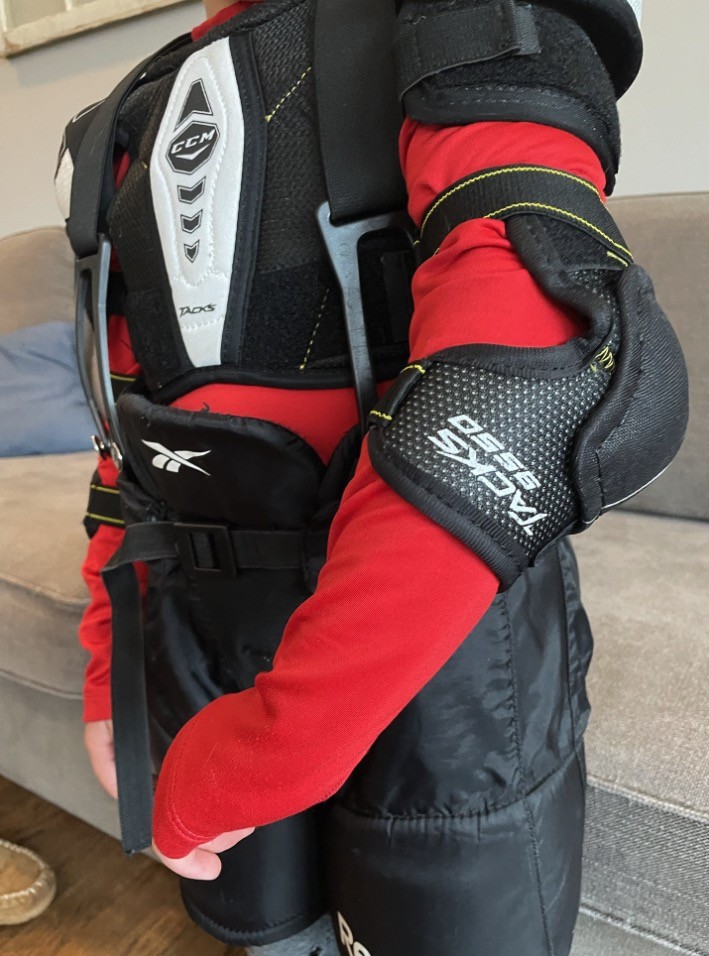
D. Shoulder pads and elbow pads.
Notice that the suspenders go over the shoulder pads, this helps to keep the suspenders from falling down off the shoulders and down the arms. Nearly all pants have buttons where suspenders can be attached.
E. Jersey
We will provide a jersey when you arrive to the rink for the first skate of the session.
F. Skates, helmet and gloves
Skates: When tying your players skates make sure to tie them up through the skates, and not just the top eyelets. Players need support throughout the entire skate, not just at the top. Skates need to be tied tightly, but not so tight the player is uncomfortable.
Helmet: Helmets need to have the cage attached as youth players are required to wear face protection on the helmet. Helmets are sold with and without the cage. The players helmet should fit comfortably and the cage should be adjusted so the players chin is touching the chin cup.
Gloves: Gloves are the last piece of equipment and are sized in inches. Player gloves start at 8" and go all the way to 15". 8" gloves are the best for younger new players.
G. Stick
The stick is confusing to many. There are left handed sticks and right handed sticks. The dominate hand is on the top of the stick, therefore a right-hand dominant player will use a LEFT HANDED stick. A left hand dominate player will use a RIGHT HANDED stick. The curve of the stick is towards the dominant hand of the user.
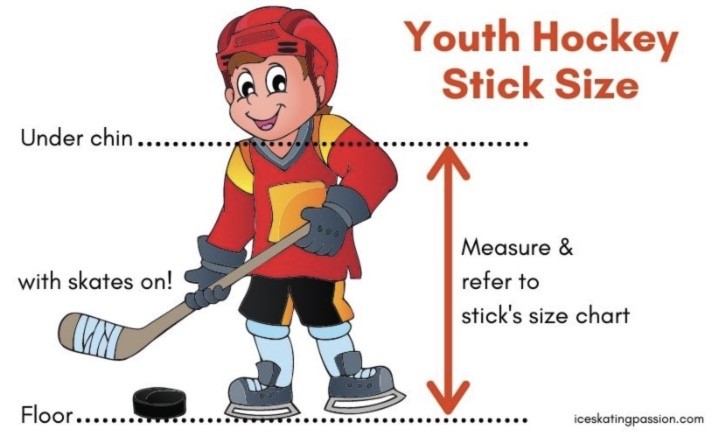
Stick length is also a common question. Below is a diagram that can aid in understanding stick length.
Taping the stick is also important. Both end of the stick need to be taped, the blade and the knob where the player holds their top hand.
Here is a great link in regard to stick information: